Jazzing Up Your 3D Prints: Fun with Laser Engraving on a Bambu Labs Cool Plate
Hey there, creative minds and tech enthusiasts! Today, we’re diving into a cool mash-up of technology that combines laser engraving with 3D printing to give your projects a personal flare right from the get-go. Our playground? The nifty Bambu Labs Cool Plate. So buckle up, because we’re about to add some pizzazz to your prints!
Crafting the Design
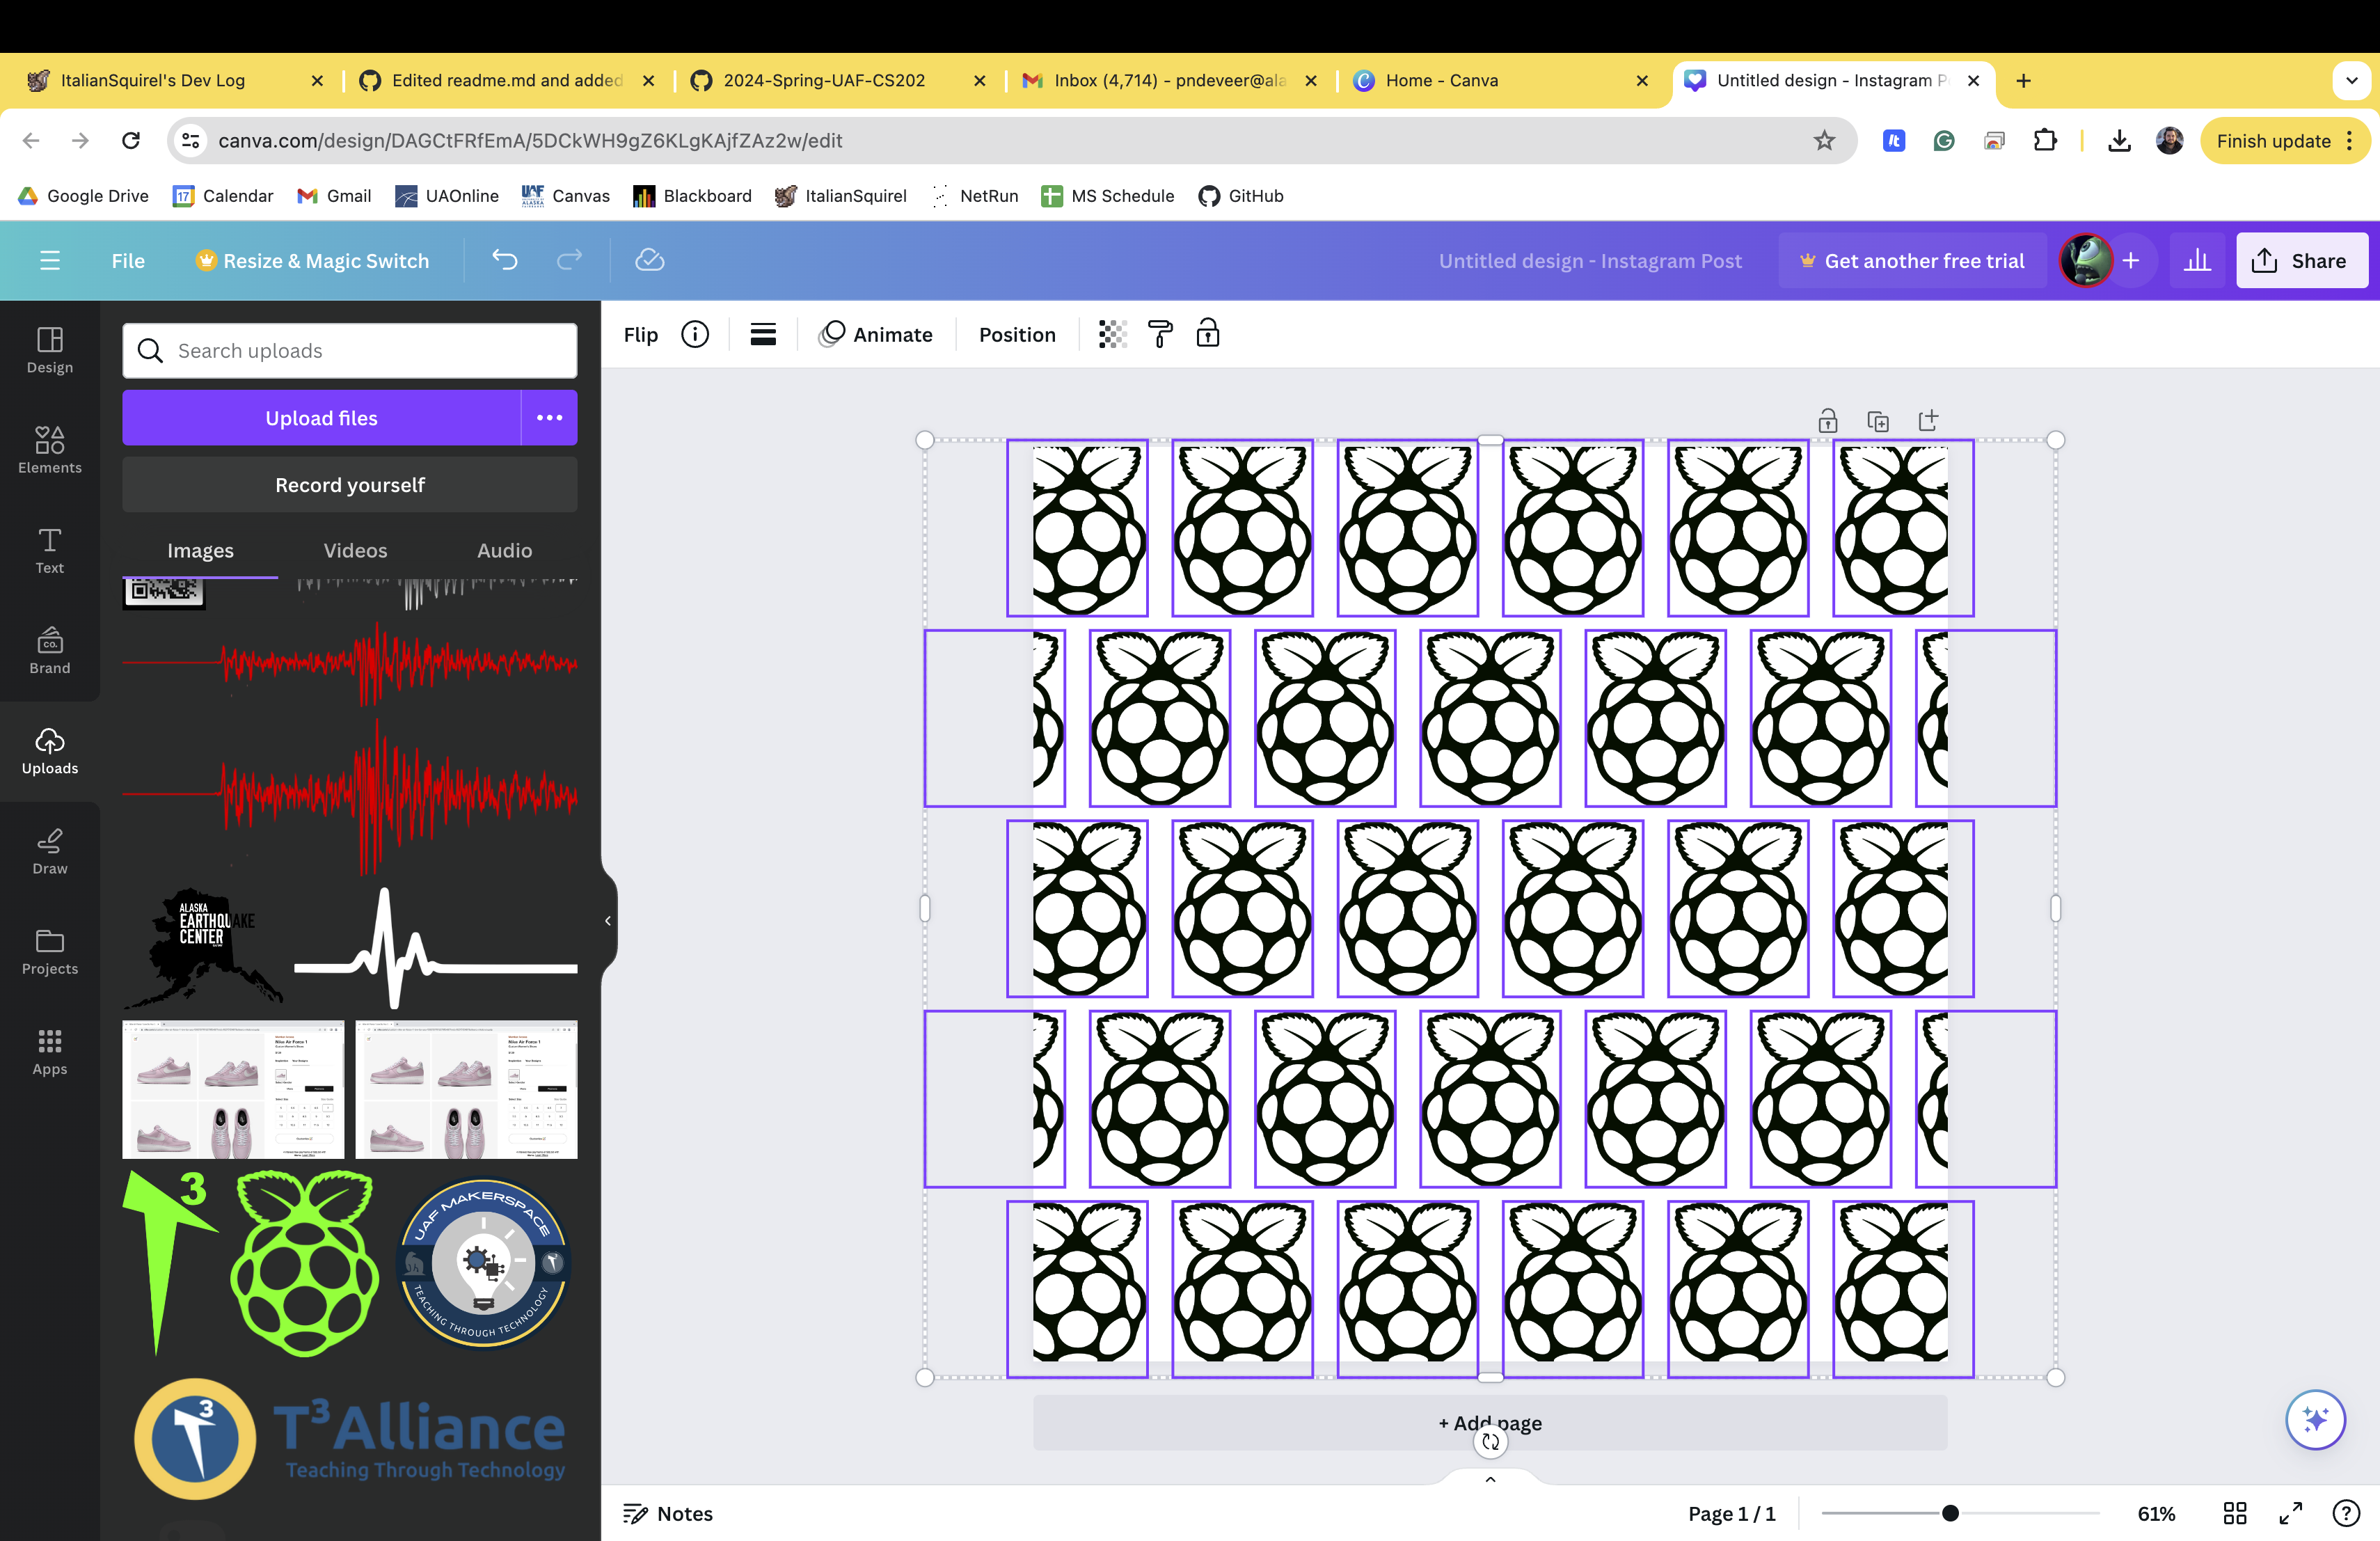
Our adventure begins in the vibrant world of Canva, where creativity meets convenience. I chose the Raspberry Pi logo for a spin, mainly because it was handy, and transformed it into a tessellating pattern that looked like it could dance across the plate. After a bit of digital magic, I exported this new groovy pattern as a PNG, ready to rock and roll.
Setting Up the Laser Engraver
Next stop, the laser show! I fired up the Full Spectrum Laser software and uploaded my funky design. Initial settings? Full throttle at 100% power and speed. But whoa, that was overkill, like a disco with too many lights. So I toned it down to 50% power, and just like that, we found our groove.
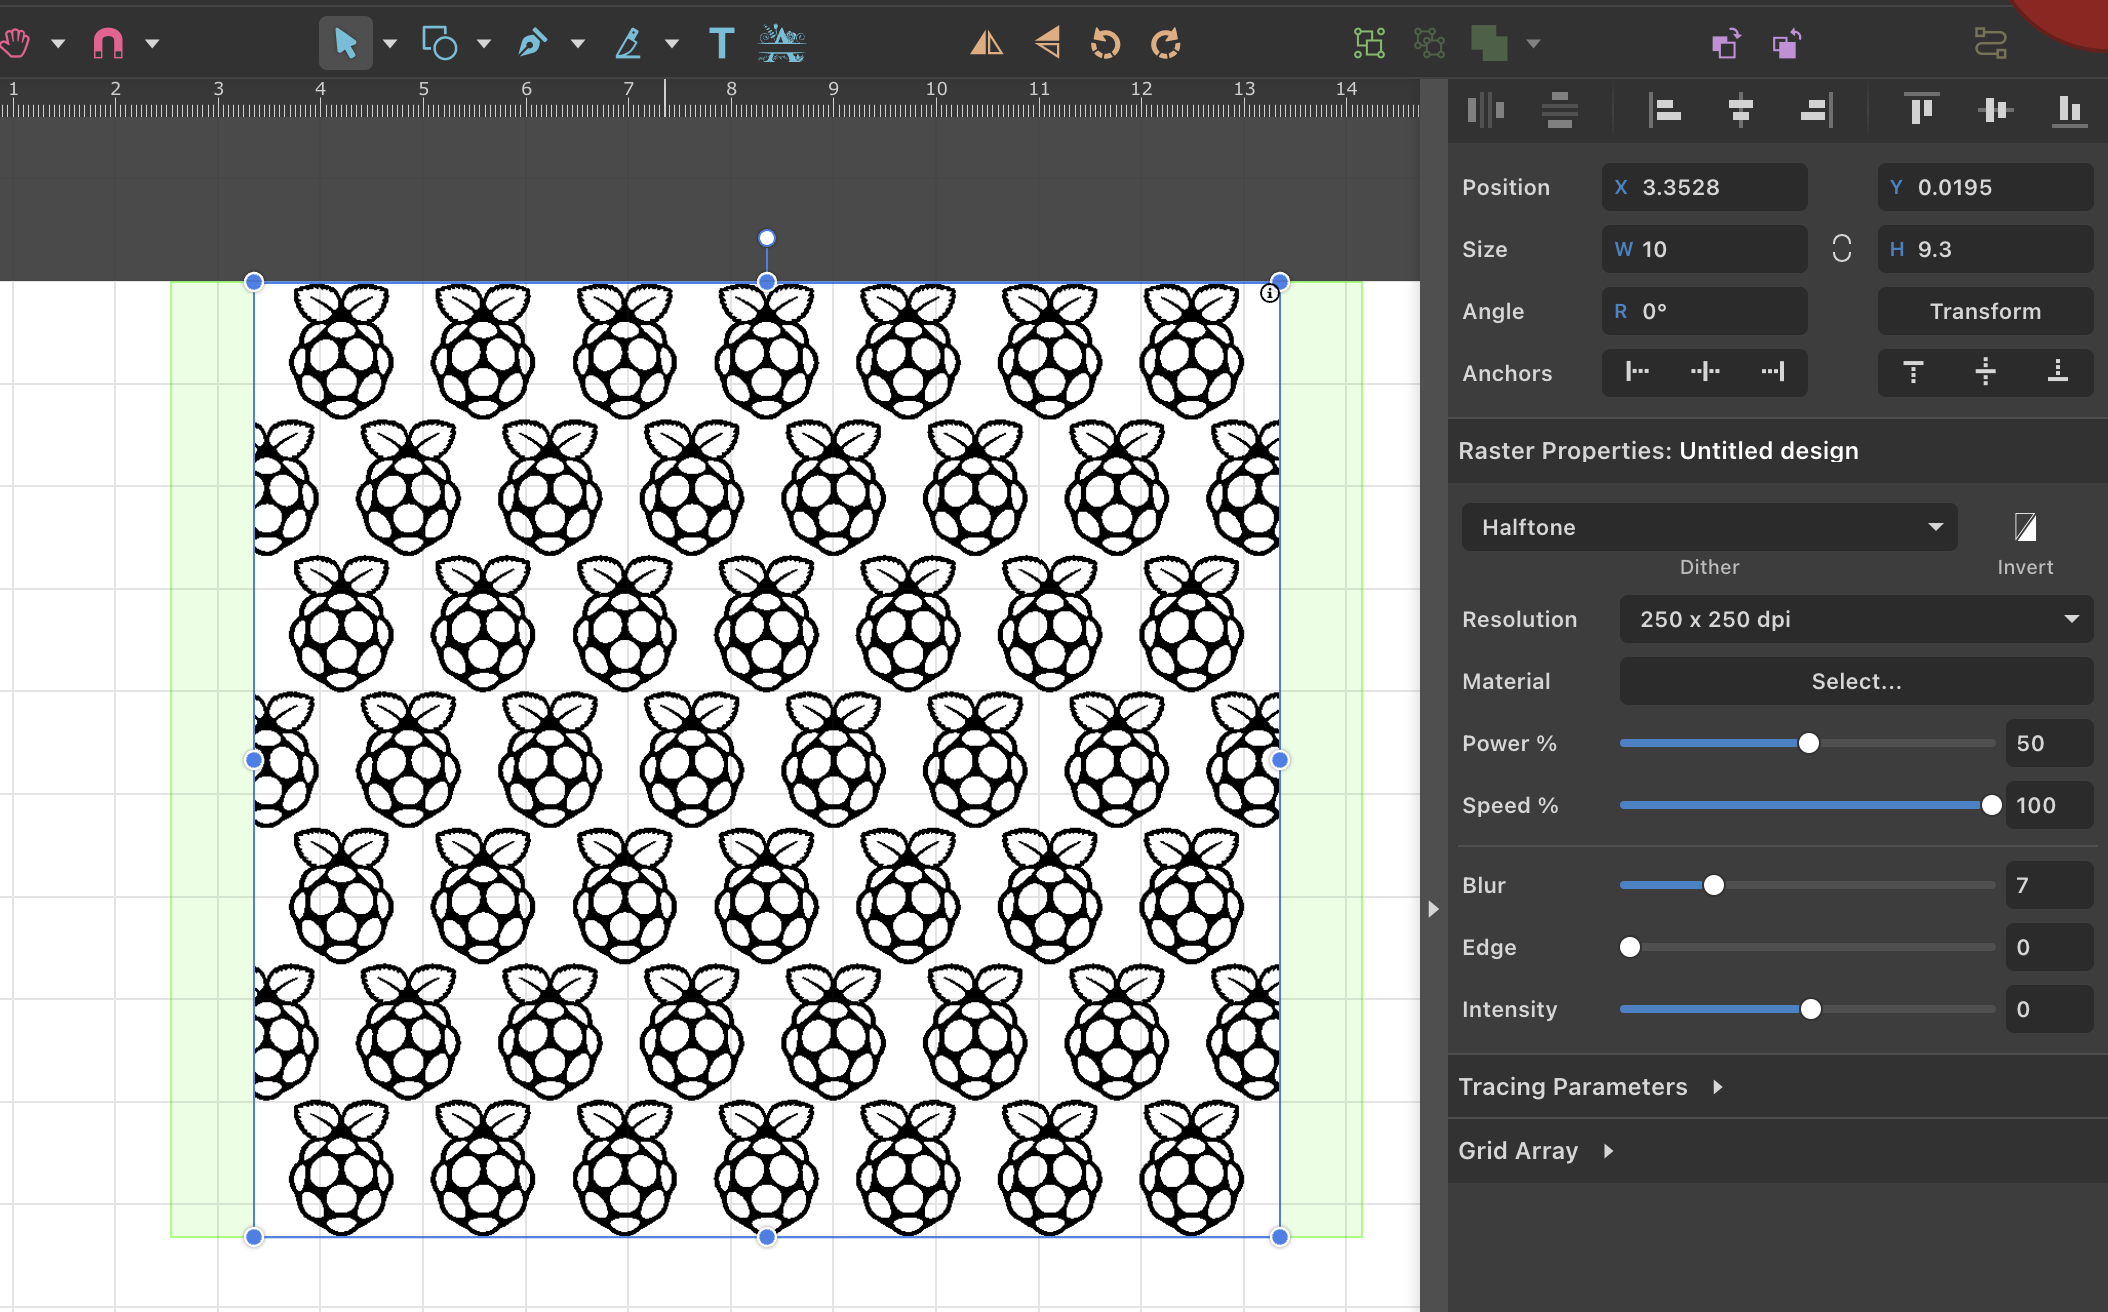
The sweet spot settings made the engravings sharp and clear without turning the Cool Plate into a hot mess. We were looking at about 30 minutes of laser time—just enough to play a few of your favorite tunes.
Encountering a Twist
Just when you think it’s all smooth sailing, a twist in the plot—15 minutes in, and the sticker on the steel plate started throwing a tantrum, curling up from the heat. Note to self (and now to you): secure that sticker like it’s the last slice of pizza at a party. Whether it’s taping it down or sticking it directly, it’s got to stay flat.
The Printing Saga Continues
With the plate finally behaving, it was time to print. Sticking with the theme, I opted for a Raspberry Pi backplate. It seemed only fitting, given the artistic ode to the logo below it.
Fine-Tuning for Perfection
The first print attempt was like starting a new dance without knowing the steps—not quite right. The print didn’t stick well, likely due to the bed cooling unevenly. So, I turned up the heat to 65 degrees Celsius, and voilà, it adhered like a dream during the encore performance.

Choosing brighter filament colors seemed like a good idea for that summer vibe, but it made the pattern underneath a tad shy. Next time, I might tweak the flow rate to give the shy pattern a chance to shine through the vibrant colors.
Wrapping It Up With a Bow
While the project had its ups and downs, the final piece was a showstopper. Here’s what we learned:
- Tune Your Laser: Start low and go slow; your material will thank you.
- Stick It Down: Make sure nothing moves, especially not stickers that act like they’ve had too much caffeine.
- Control the Climate: Keep an eye on temperature swings; they can crash your print party.
- Choose Colors Wisely: Let your under-layer pattern pop by picking filaments that don’t steal the spotlight.

Final Curtain
Laser engraving on a Bambu Labs Cool Plate is your backstage pass to customizing 3D prints that truly stand out. It’s a blend of art and precision that might take a few tries to perfect but promises to elevate your creations. So keep experimenting, keep creating, and most importantly, keep having fun. The stage is yours—light it up!

Stay tuned for more creative escapades in the world of 3D printing. Until next time, keep those printers humming and your imaginations running wild! Happy printing! 🌟