Painting Flat Surfaces with Bambu Labs
These instructions will guide you through the process of preparing and painting flat surfaces using the AMS Paint Tool for Bambu Labs 3D Printers.
Prerequisites:
- A 3D model of a blank plate for a Raspberry Pi.
- A DXF or SVG file of your desired design.
- Fusion 360 software.
- Bambu Labs 3D Printer with AMS Paint Tool.
Steps:
- Import DXF/SVG File:
- Open your Fusion 360 project.
- Import the DXF or SVG file of your design.

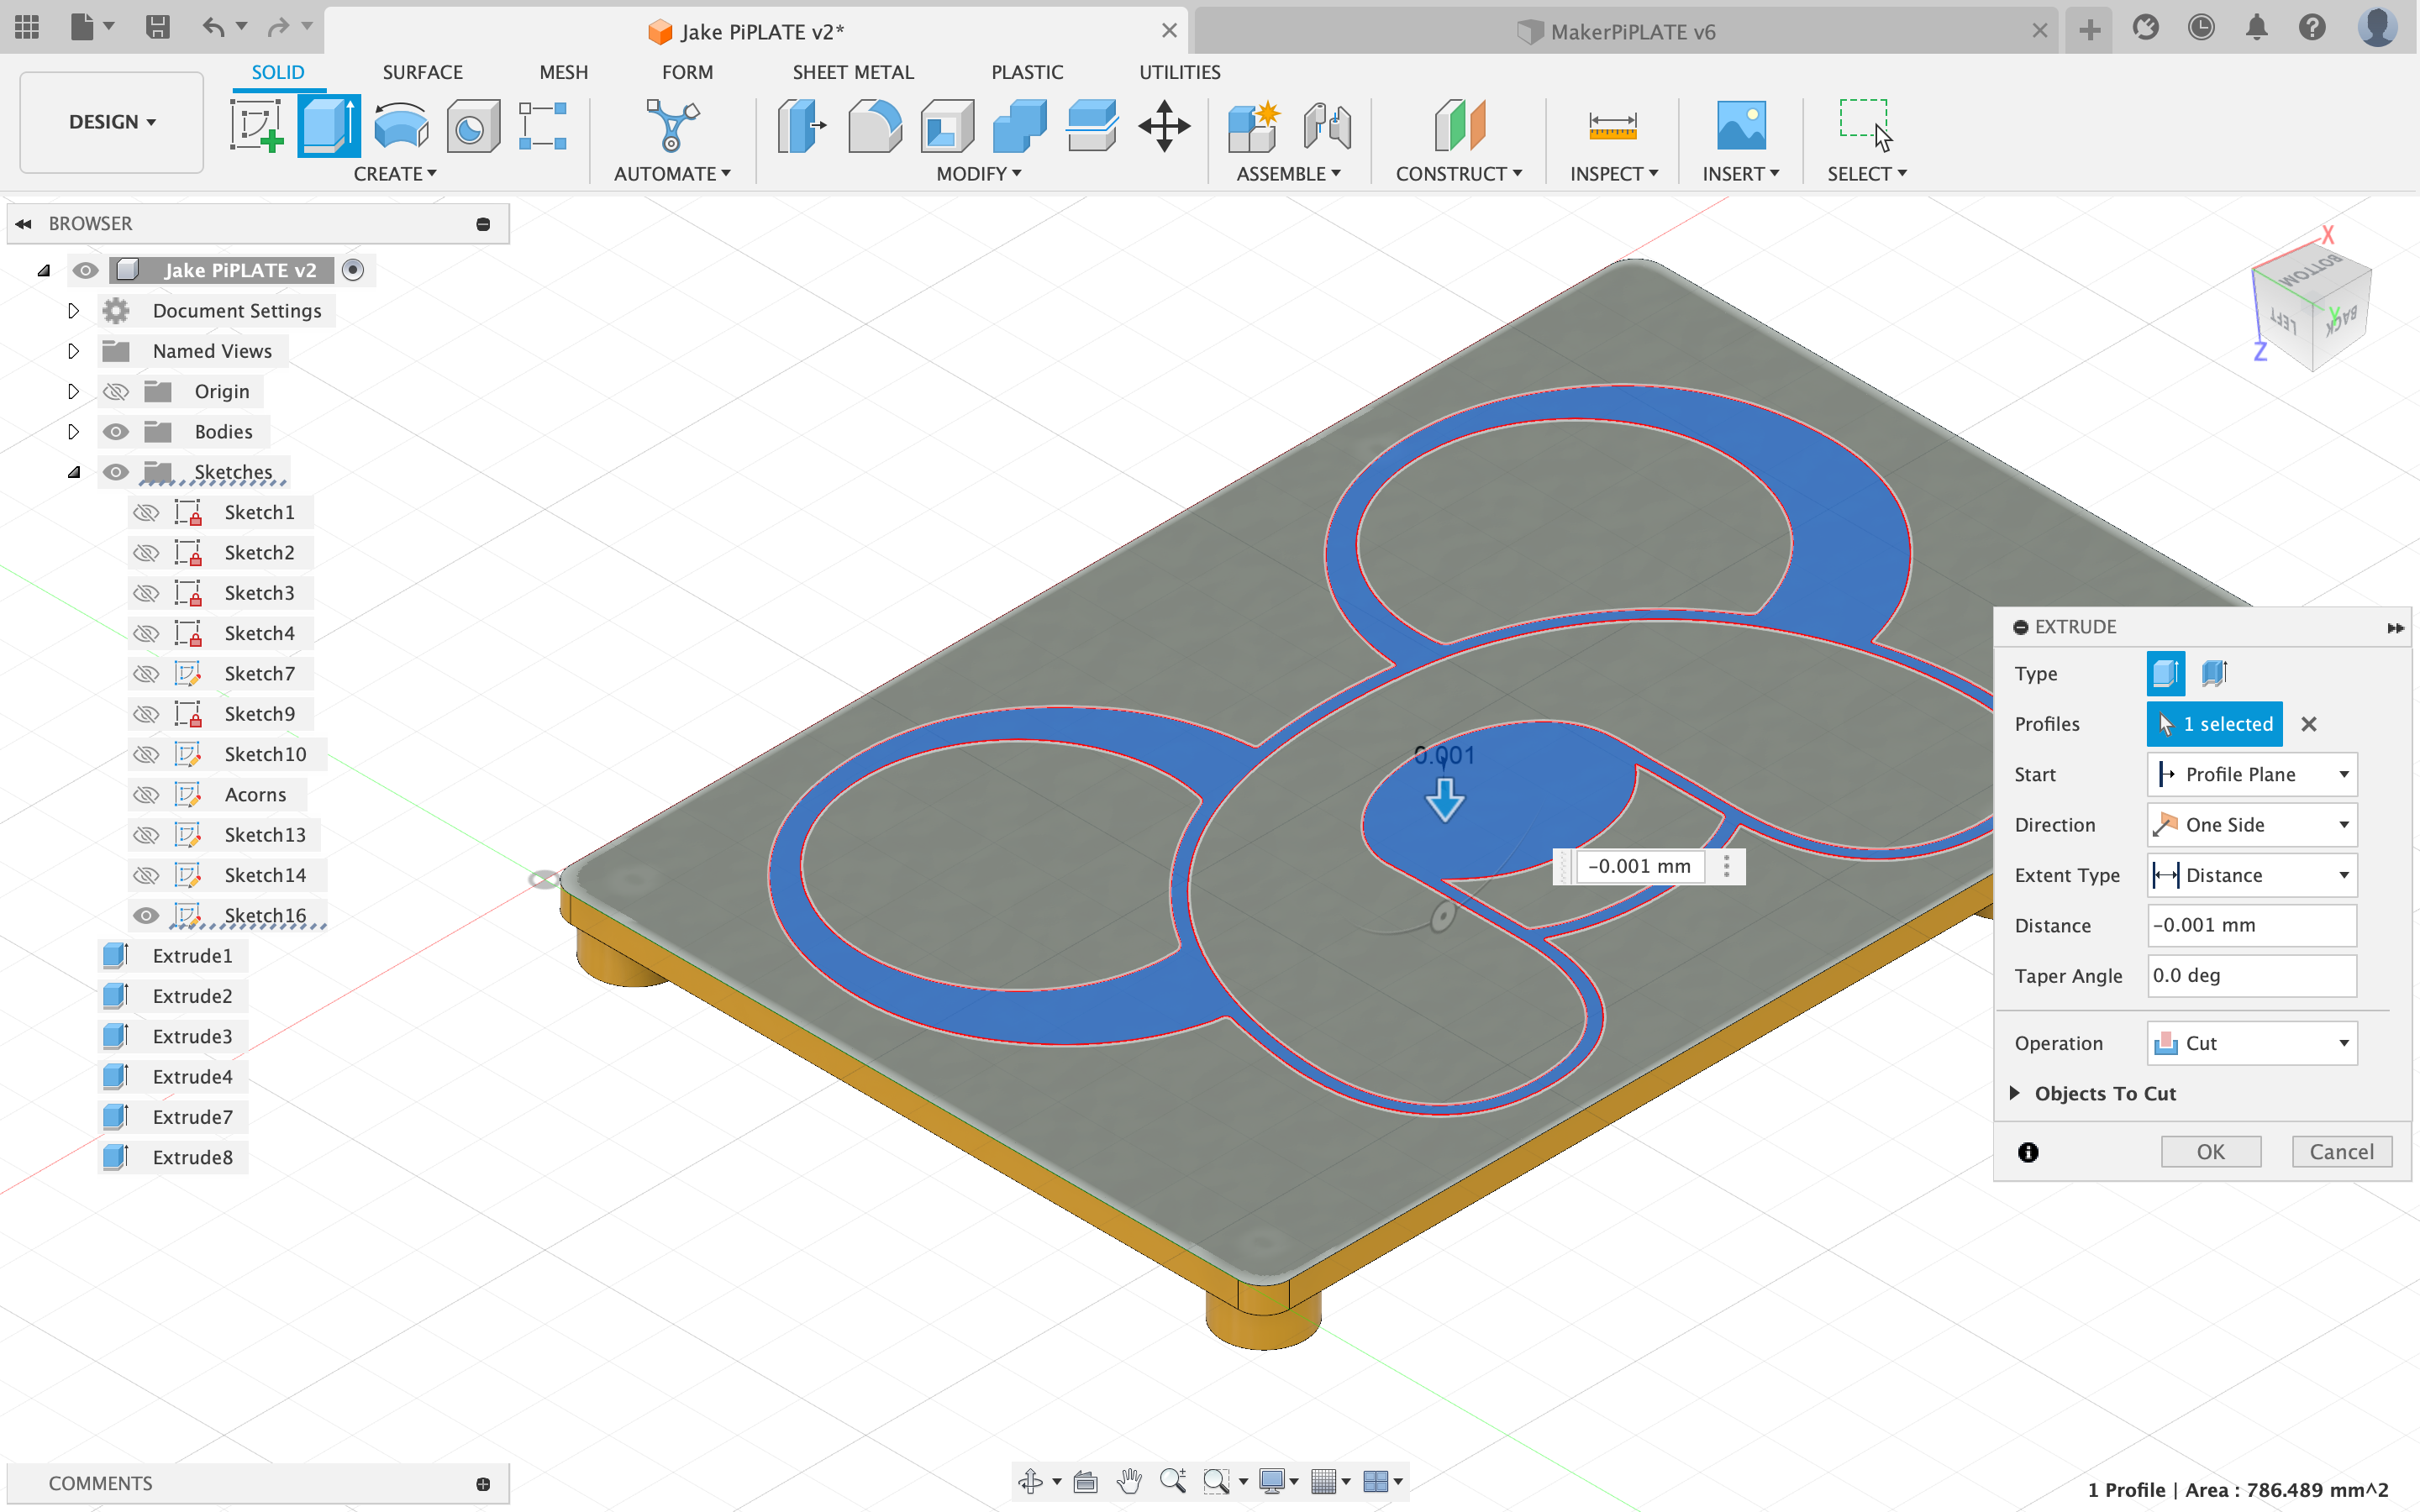
- Extrude and Tiny Gap:
- Select the imported design.
- Extrude the design to a height that’s just slightly above the printer’s minimal printable height, such as 0.001 mm.
- Ensure that there’s a tiny gap between the extruded surface and the original surface.
- Save and Export:
- Save your Fusion 360 project.
- Export the modified design as an STL file.

- Load STL in Bambu Slicer:
- Open the Bambu Slicer software.
- Load the STL file of your modified design.
- Prepare for Painting:
- In Bambu Slicer, the modified face should be recognized as a new surface due to the tiny gap.
- Use the fill tool to ensure the new surface is sealed and ready for painting.

- Color Selection and Painting:
- Choose the desired colors for your design.
- Use the AMS Paint Tool to apply colors to the prepared surface.

- Preview and Adjust:
- Preview the painted design in the Bambu Slicer.
- Make any necessary adjustments to colors or placement.
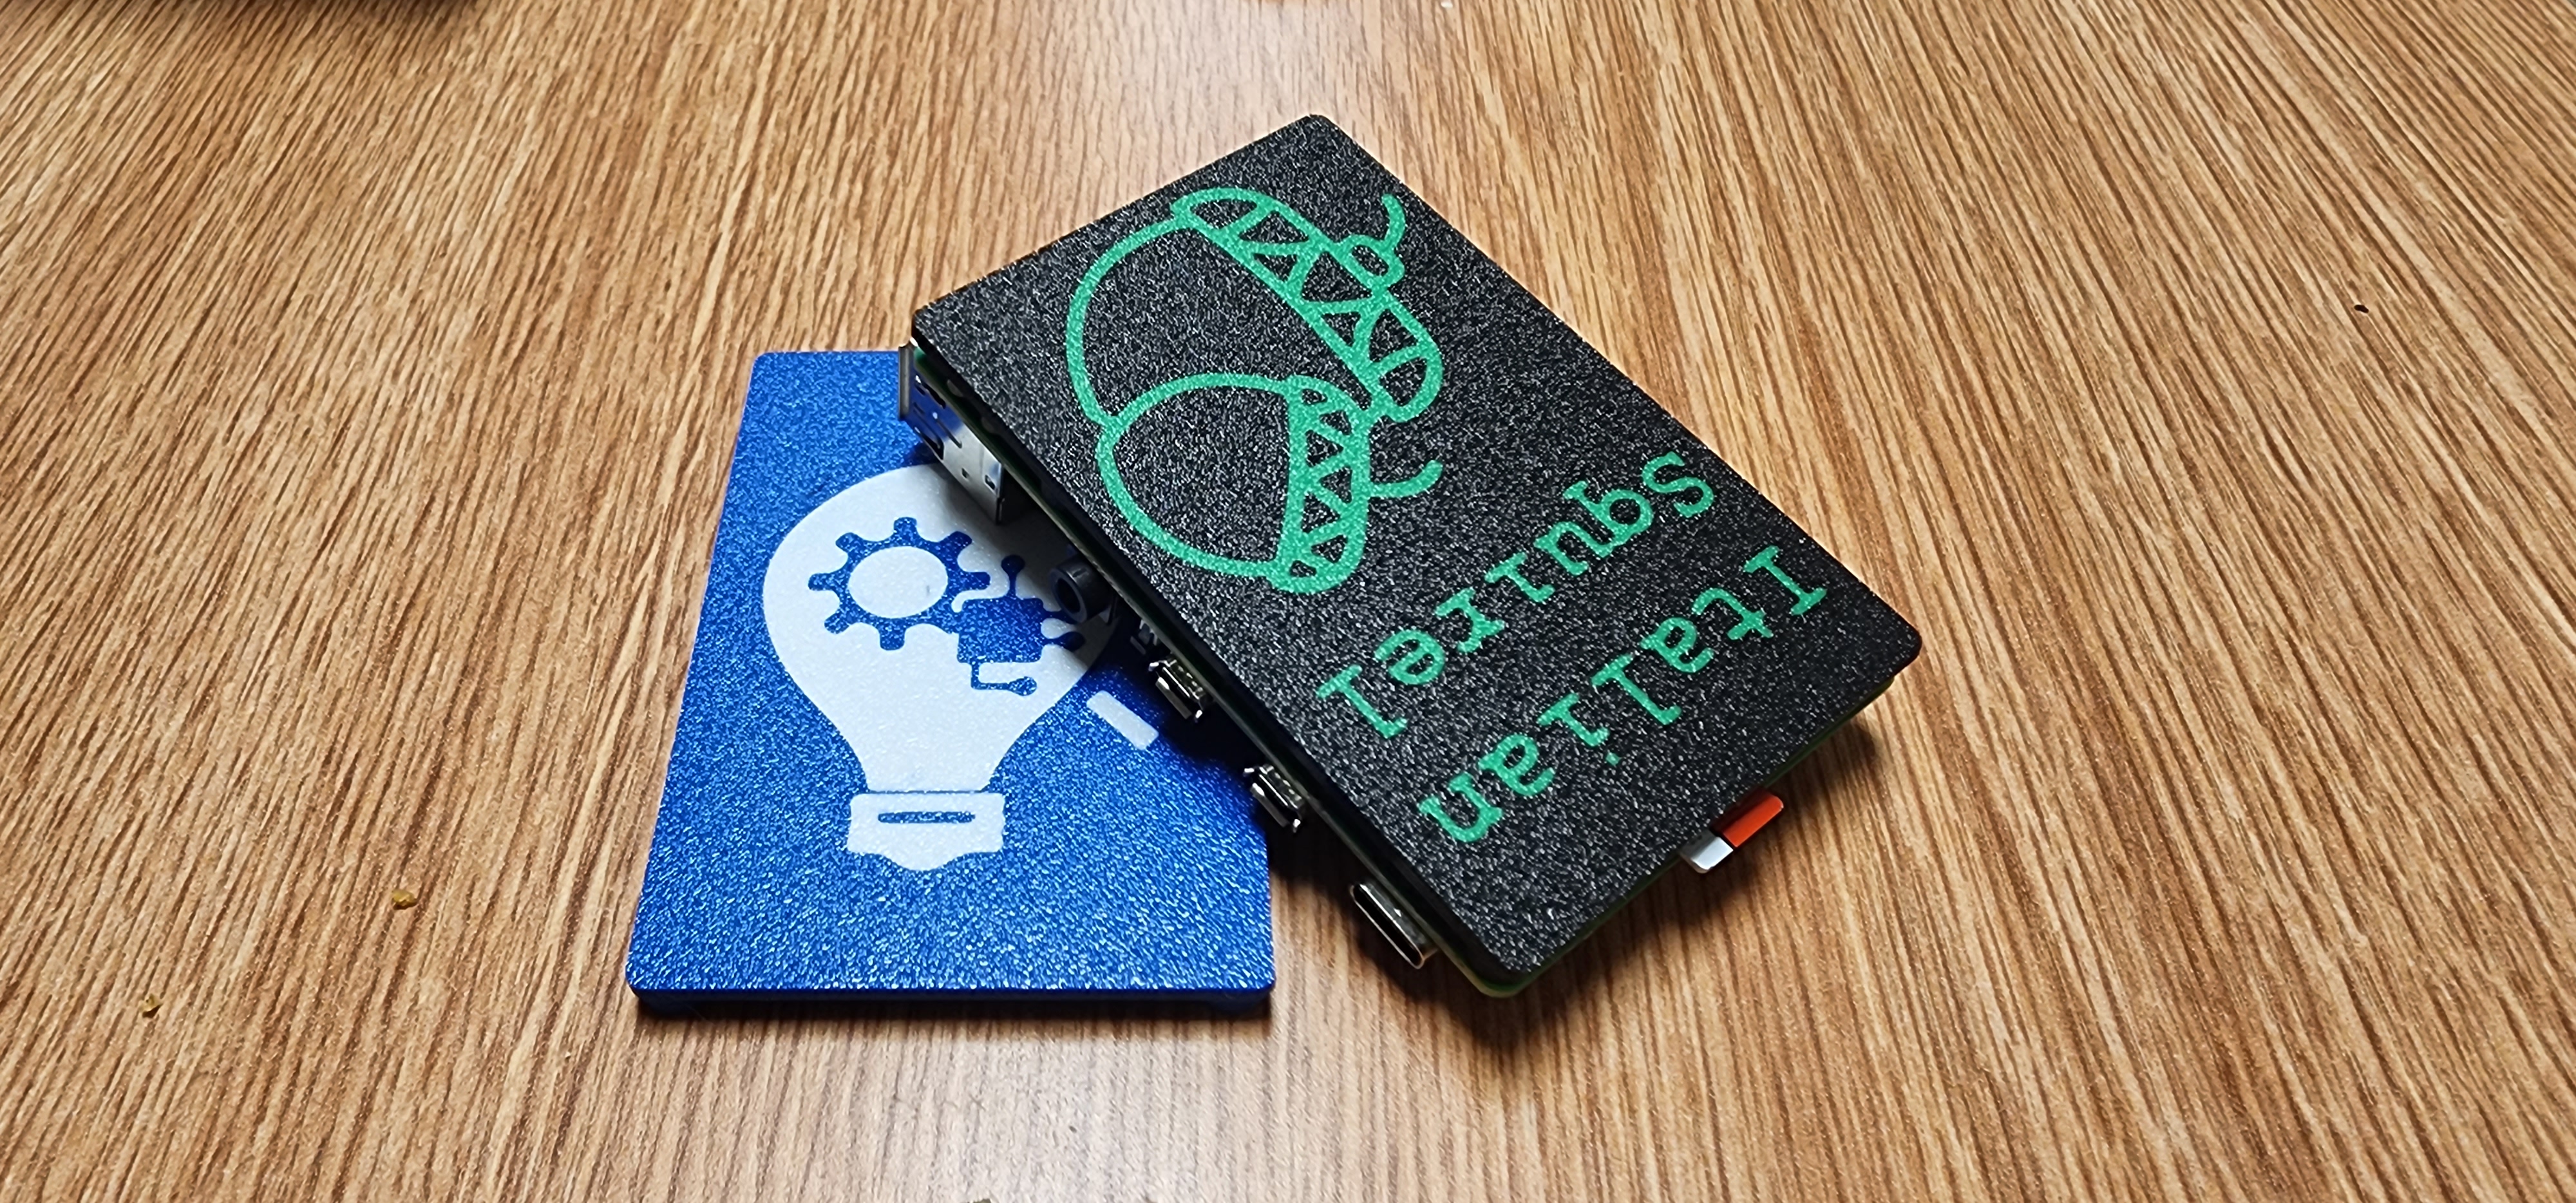
- Print:
- Once you are satisfied with the painted design, initiate the printing process using your Bambu Labs 3D Printer.
Notes:
- The small extruded height with a tiny gap is a workaround to allow the slicer to recognize the new face while being mindful of the printer’s capabilities.
- Experiment with different colors and patterns in the AMS Paint Tool to achieve your desired look.
- Double-check the preview in the Bambu Slicer before printing to avoid any issues.